Roasting coffee with a popcorn maker
Feb 5 2018I’m a big coffee fan. I’m also a massive cheapskate. Normally the first one wins, but the other day I found this post about how you can roast your own coffee. Within about an hour I’d ordered the necessary bits, and now less than a week later, I’ve roasted my 5th artisanal microbatch of coffee.
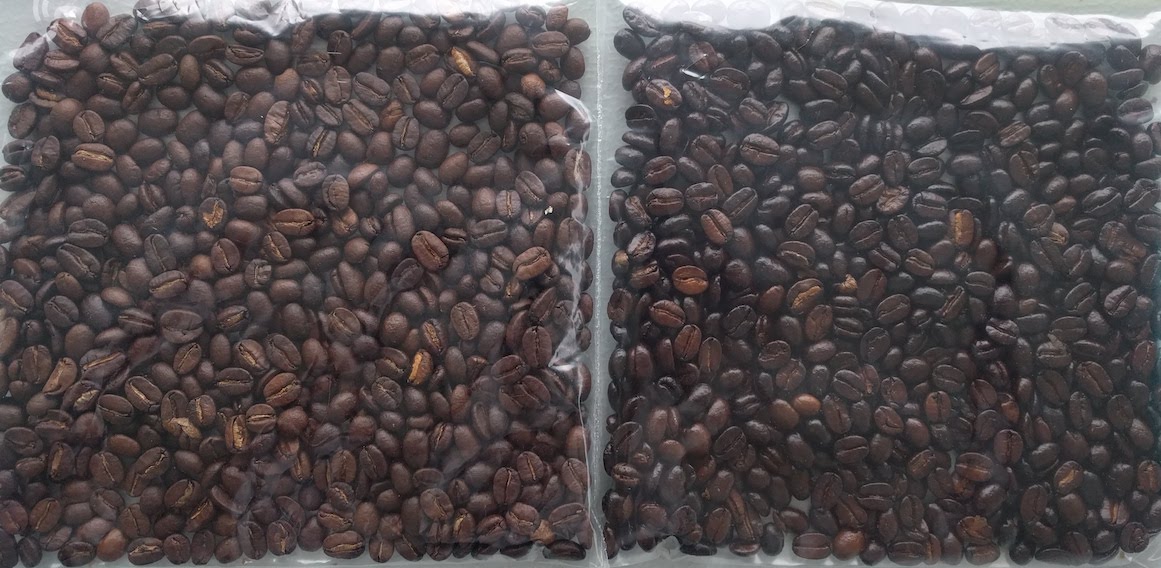
As you might be able to tell, I haven’t dialed in the actual roasting part of it just yet, but I can definitely tell you how to pull apart a popcorn maker.
So what I’ve worked with is one of these:
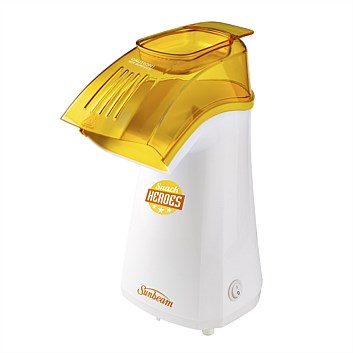
Which seems to be the only one available in at NZ retail stores. Thankfully, the design of these things doesn’t differ that much from model to model. Unfortunately I took all these photos after I’d pulled the thing apart, so they’re more representative than anything else.
We are going to be doing some damage to the plastic casing, and circumventing the safety measures. Obviously these actions are warranty voiding, and do definitely increase the fire risk posed by the altered device. I would not leave it unattended, and keep an eye on the machine while it’s operating. Maybe keep a fire extingusher on hand as well.
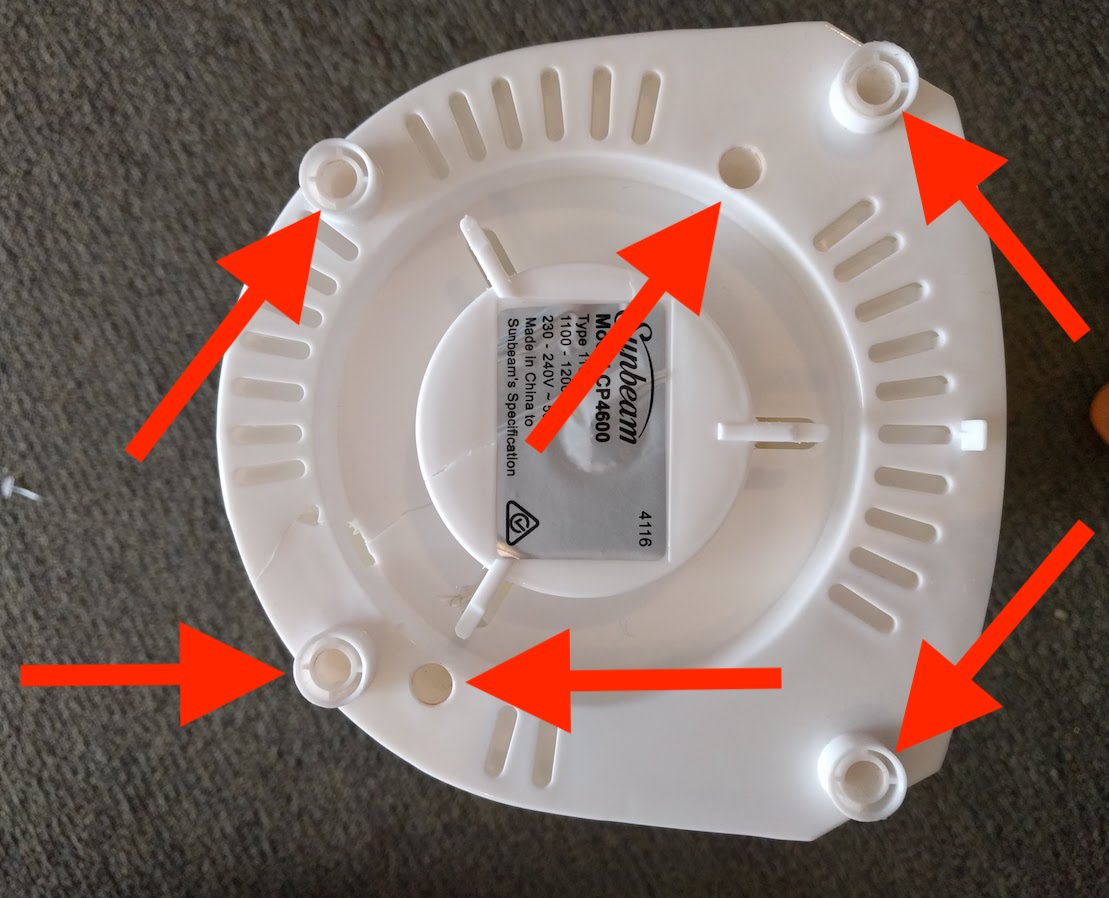
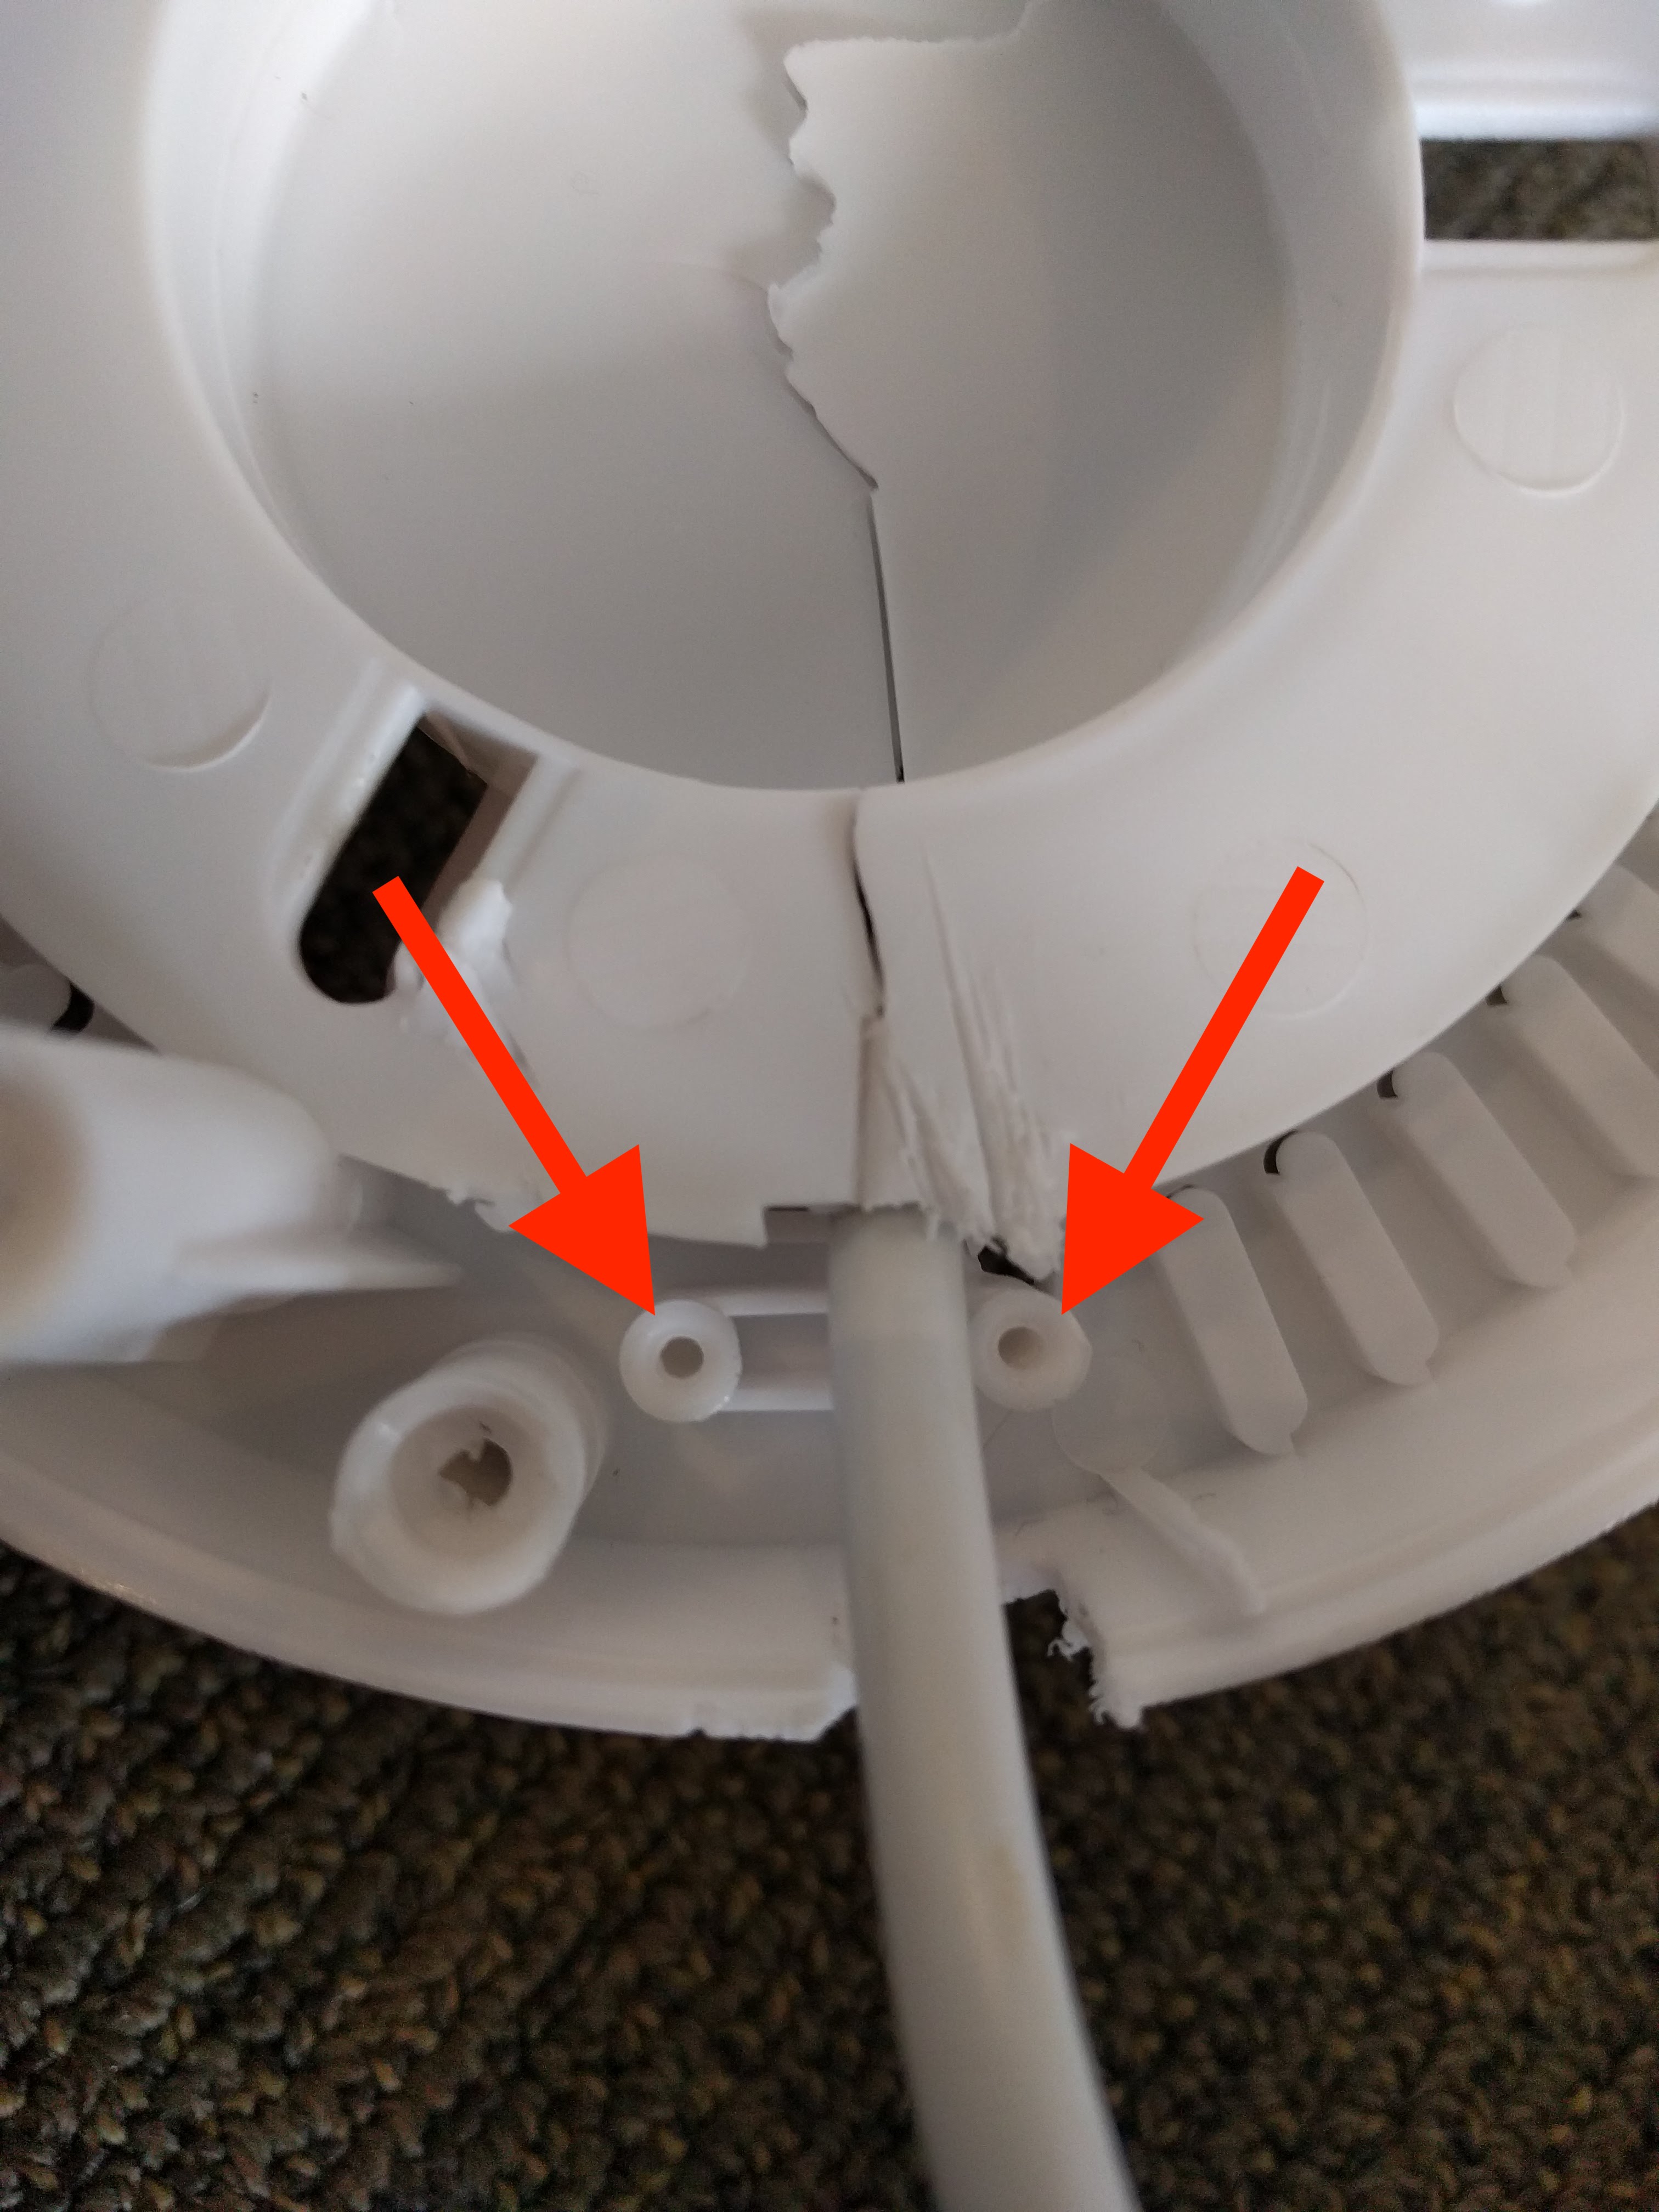
Alright so step zero, crack it open. There’s screws in the spots marked with arrows. The four outside ones are covered with little rubber feet you can just pull off. The other two are deep inside the casing, you’ll need a screwdriver with a reasonably long shaft to get at them.
After doing that, you should be able to yank the base off your soon to be coffee maker, and you should be greeted by something like this:
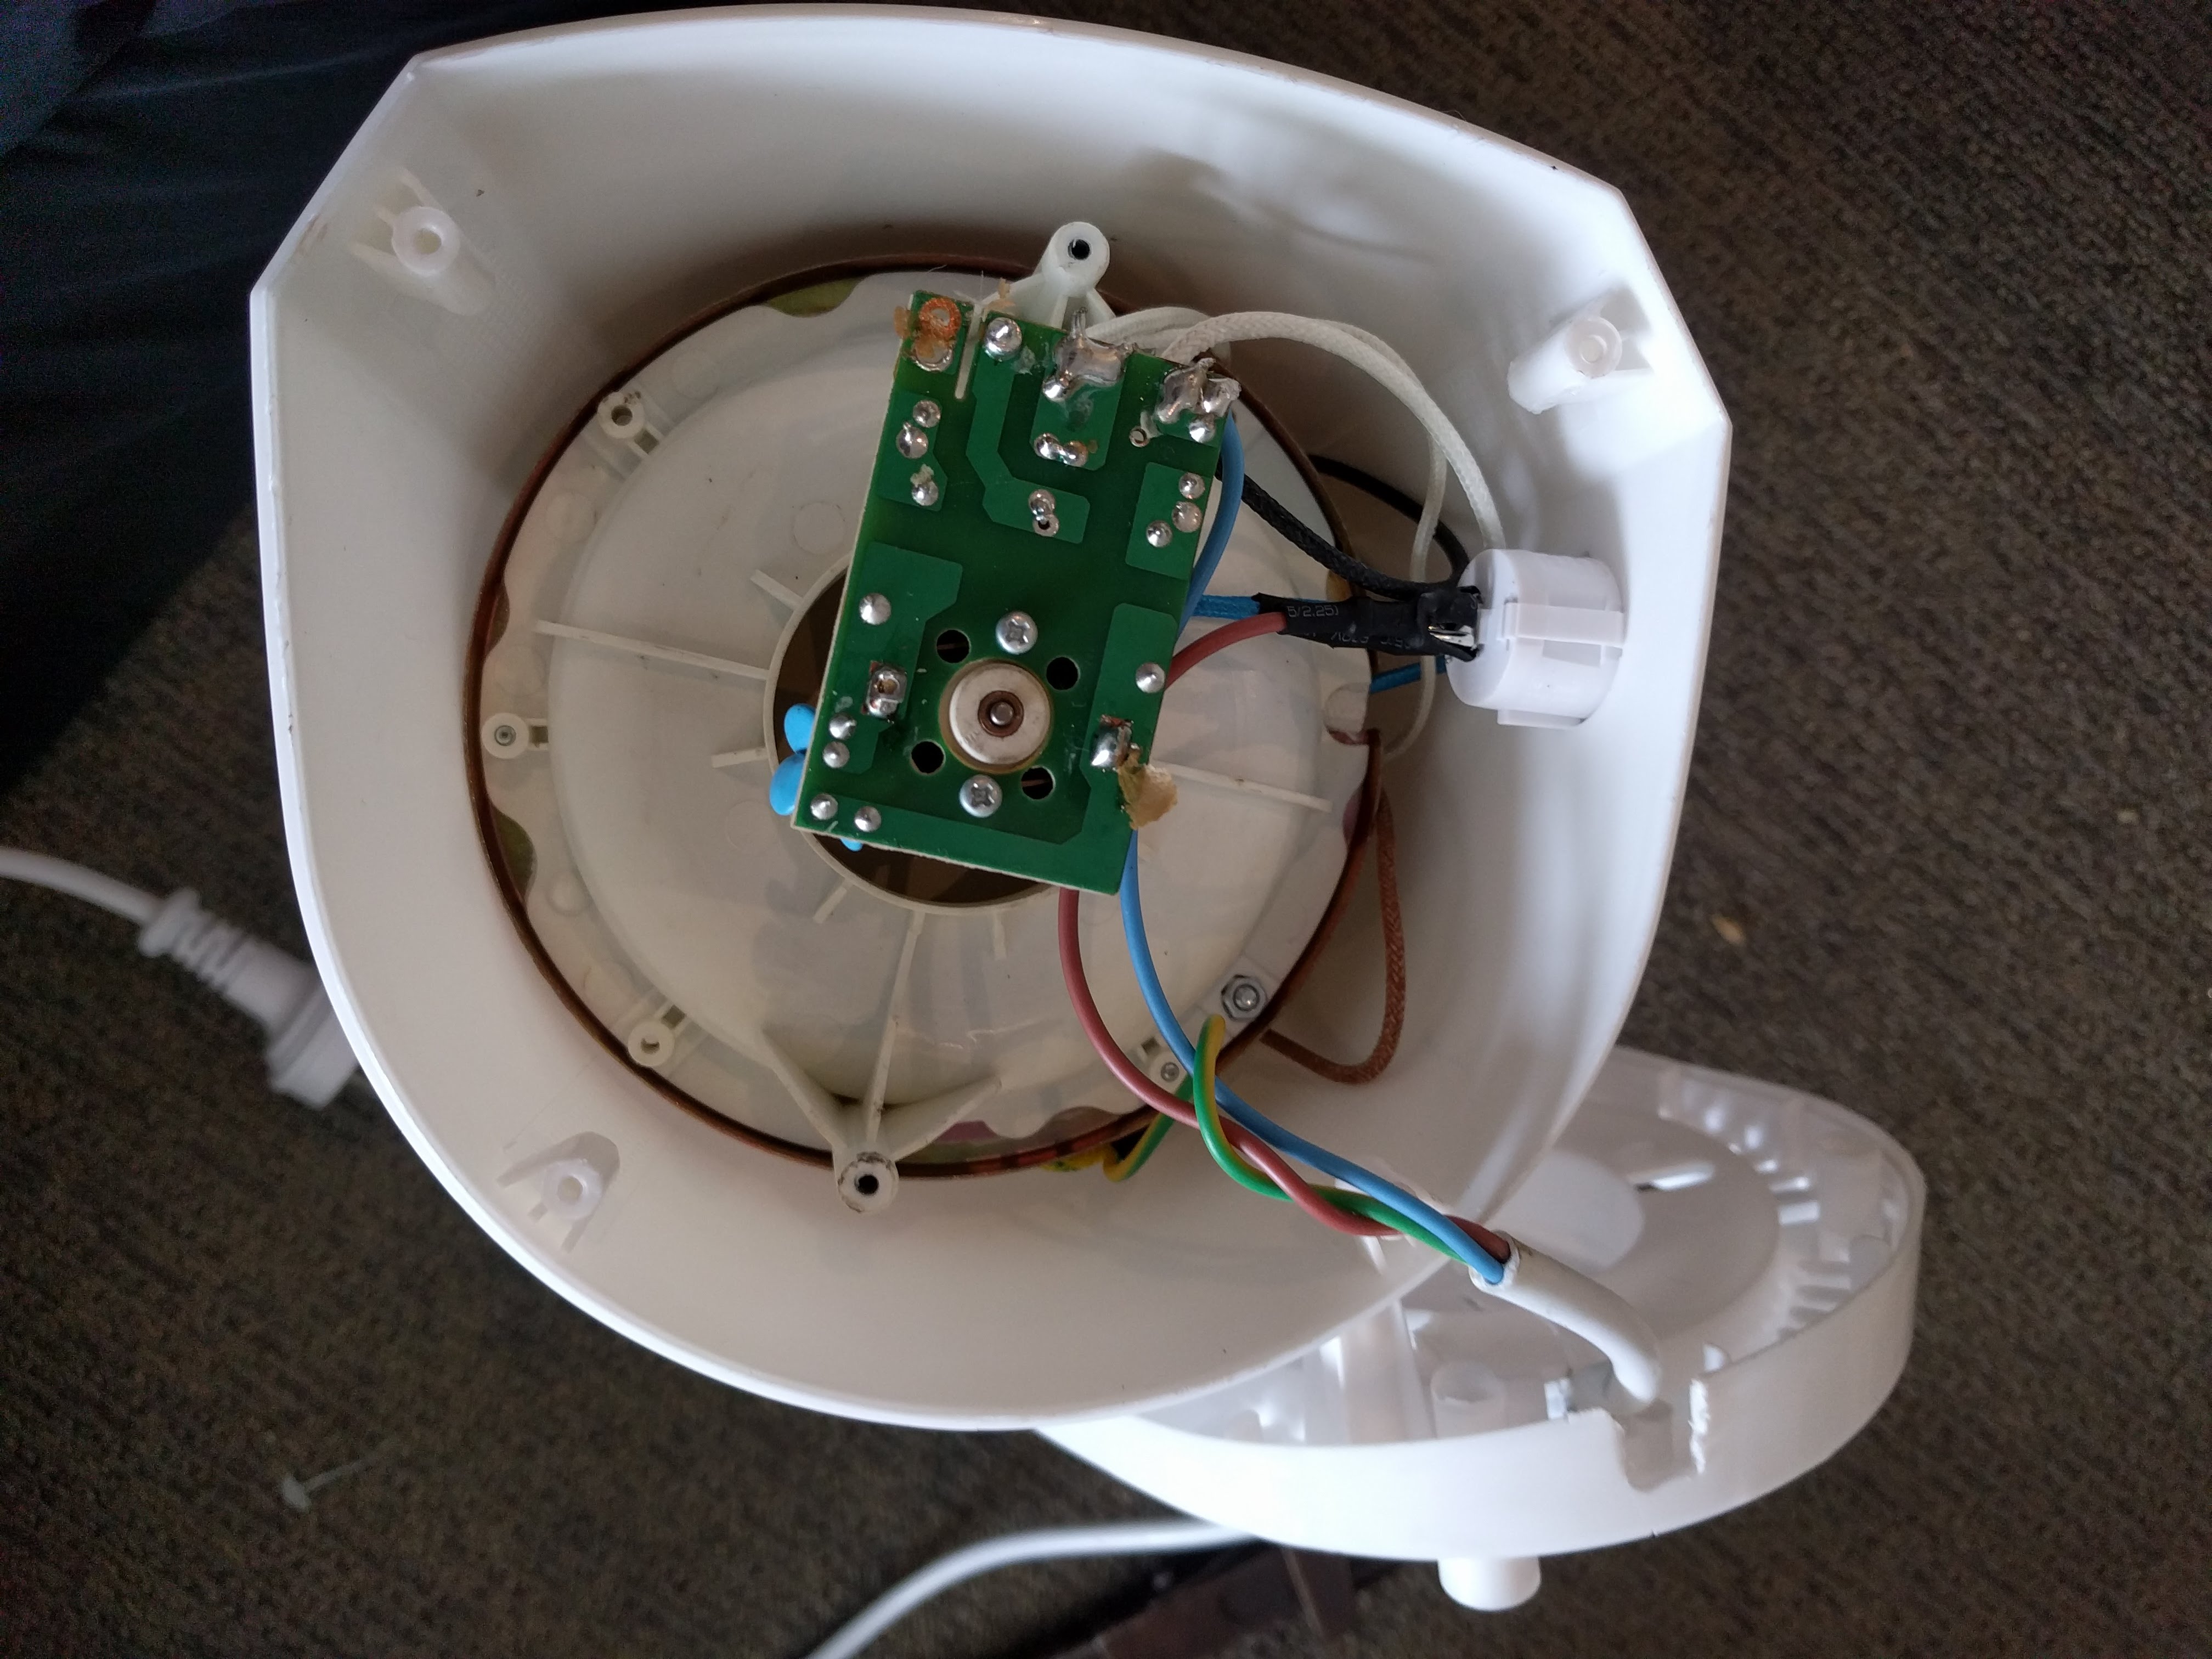
The bit that we need to deal with immediately in order to free the important parts from their feeble plastic shell is the switch:
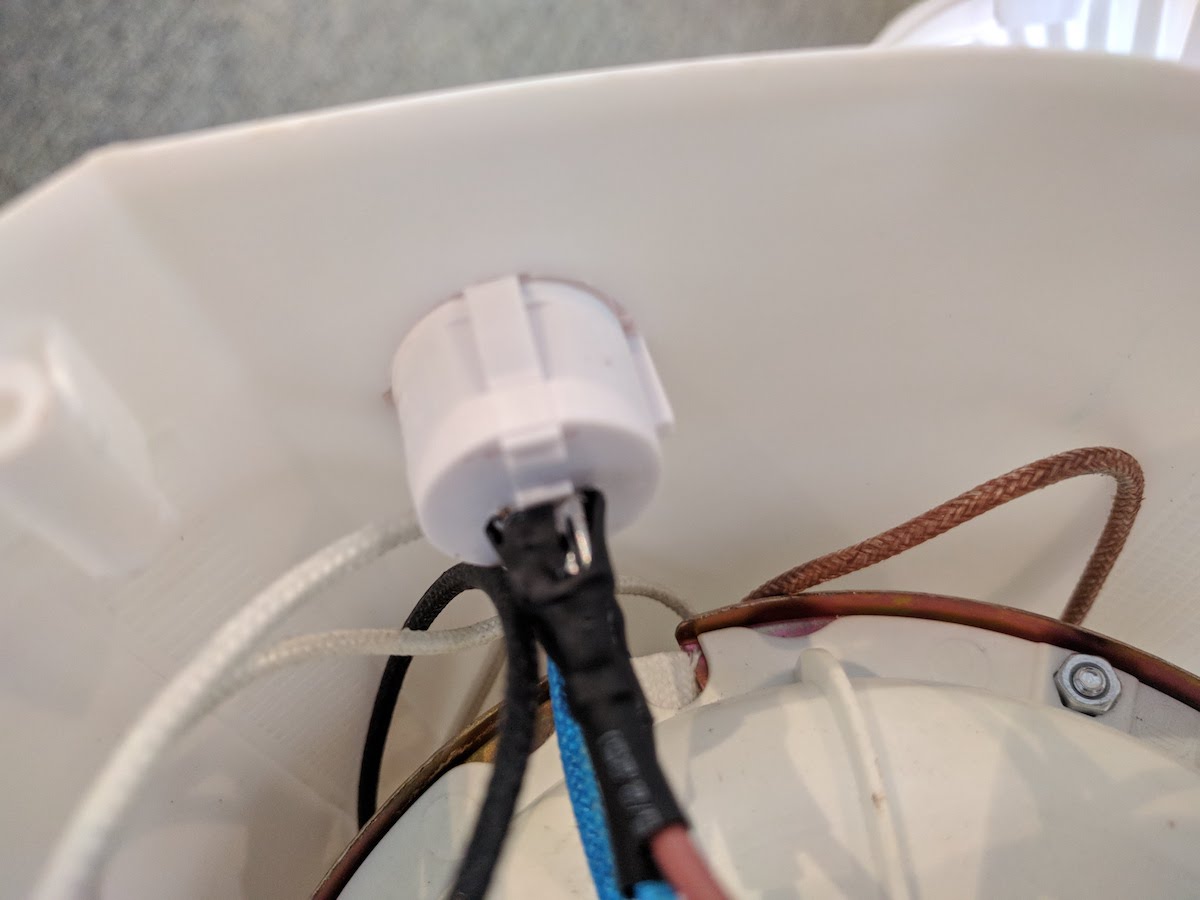
You should be able to pull the cables off the switch by hand or with a pair of pliers. We have to do this since the switch will only come out if we push it towards the outside of the plastic shell. Once you’ve pulled it out you should reattach it to the cables which should just press fit back on.
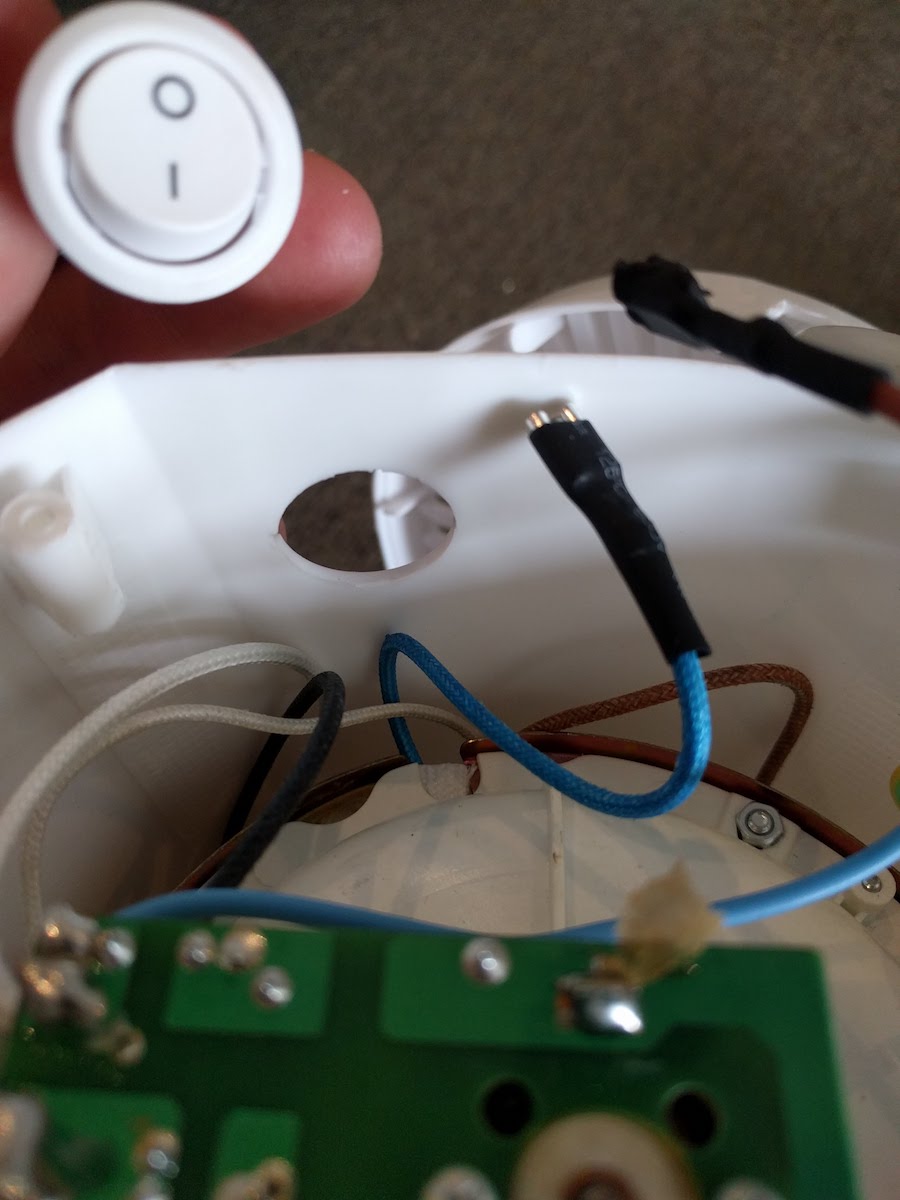
At this point you should be able to pull the whole assembly out of the shell, along with the power cable and the still attached base:
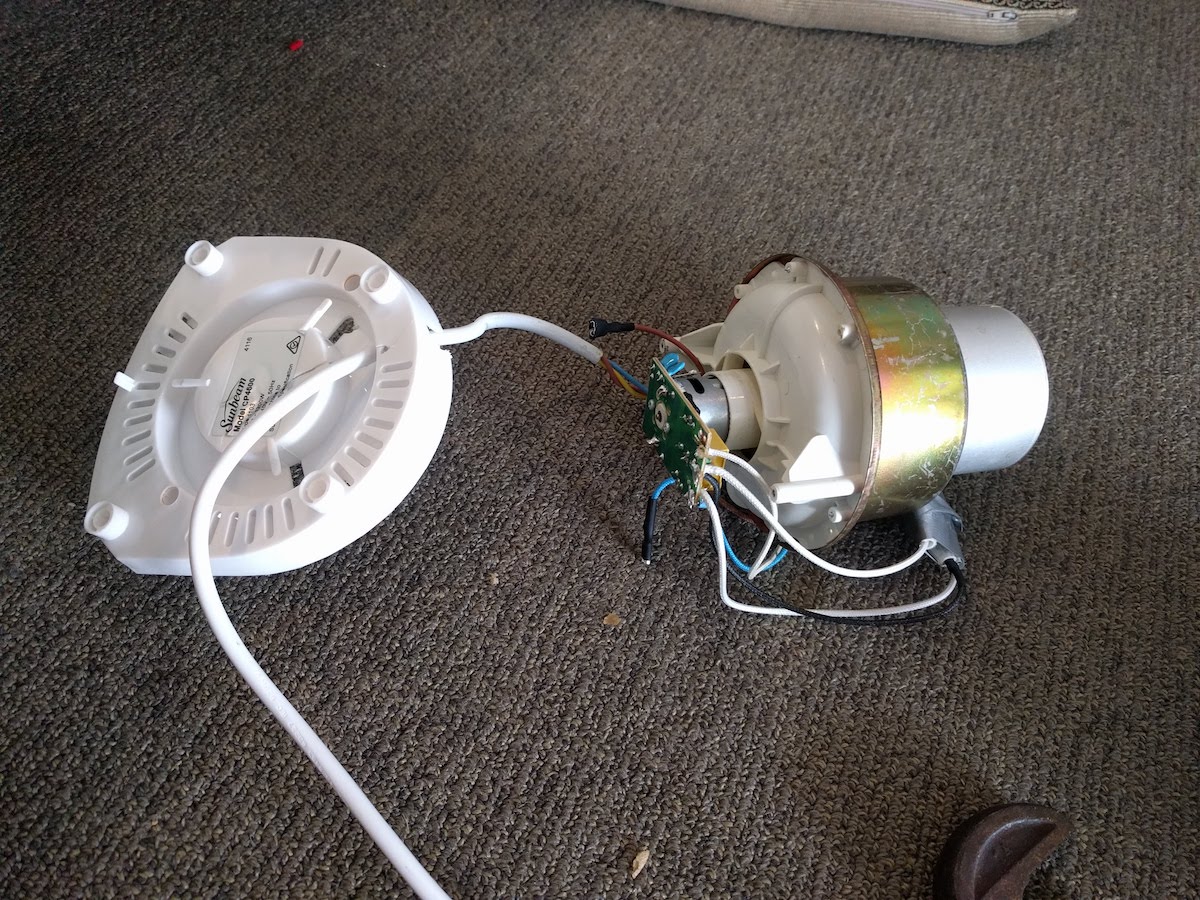
It’s a bit of a choose you own adventure at this point. We’ve got to remove the overheat protection measures, and although you don’t have to remove the base, but it’s probably a good idea since otherwise it’ll just get in your way.
Lets start with the base, which is just a case of removing two of the screws retaining the power cable, (indicated with the arrows) and then cutting through the plastic base to free the cable. A big pair of side cutters will do the job just fine, and will make sure the warranty is voided.
Once that’s done we’re onto the increasing fire risk part of the operation. There’s a large metal band around the “cup”,
holding a thermal fuse:
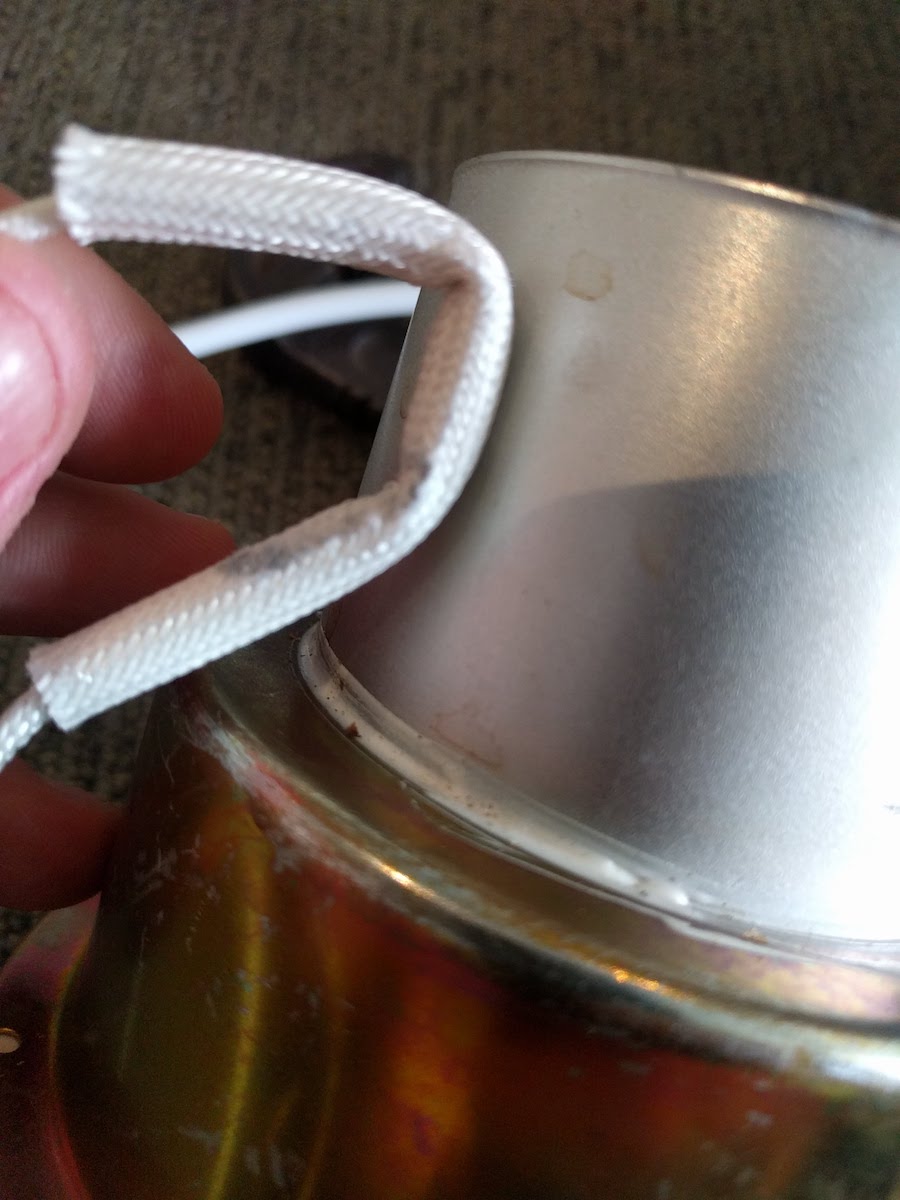
The fuse is rated for 196°C, which is a bit lower than what we want. We’re targeting around 200°C. So that’s got to go, along with the other bit that the metal band is holding on:
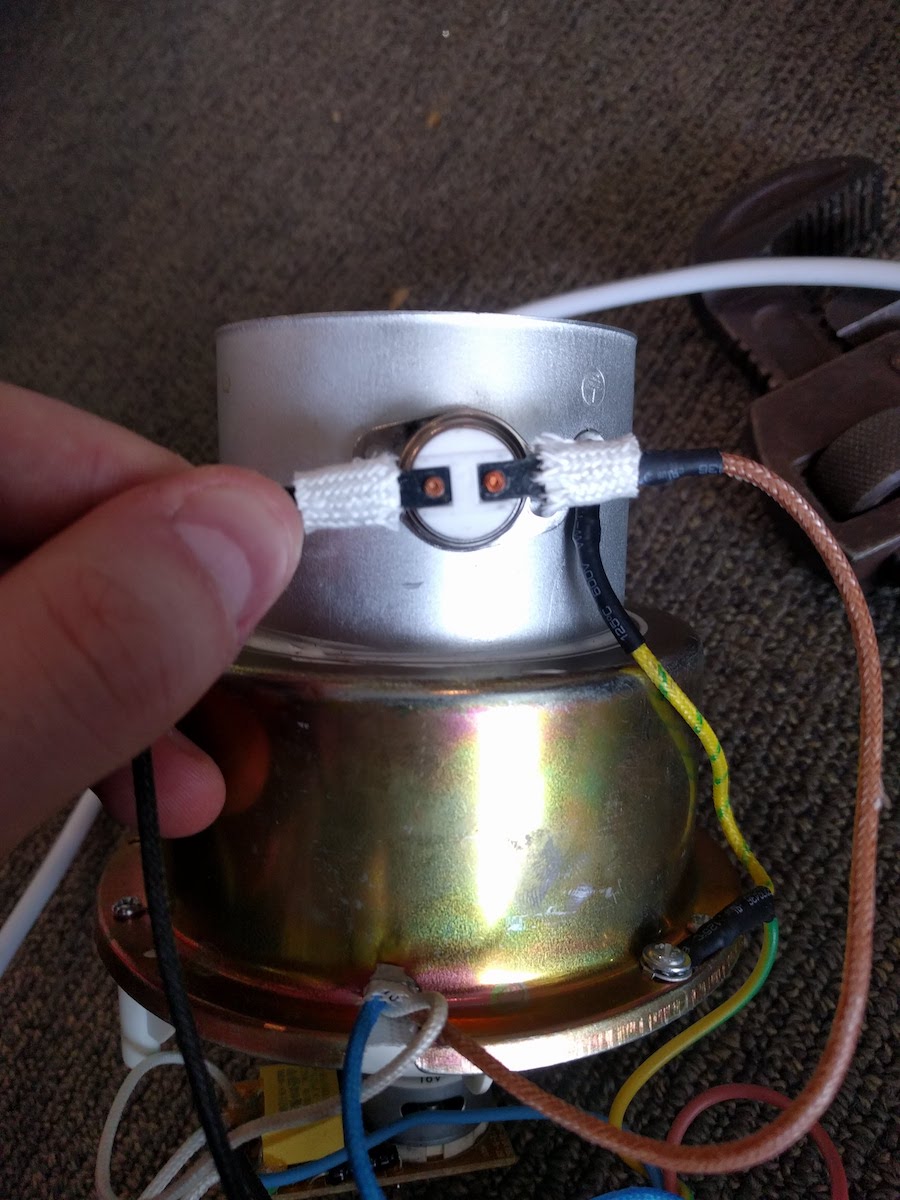
This is a termostat. Unlike the fuse it’ll reset itself once it’s cooled off, but it’s got a slightly lower cutoff at 180°C.
The band is held together with a bolt which can just be undone, and then you’ll have to cut through a part of it to free the thermocouple. Once that was done I just duct taped them together to keep them off to the side while the roaster is running.

The only other thing you need to do at this point is figure out how to handle the thing when it’s hot. You could probably fashion a handle from some stiff wire, but being an apartment dweller I didn’t have any handy. What I did have was a pipe wrench:
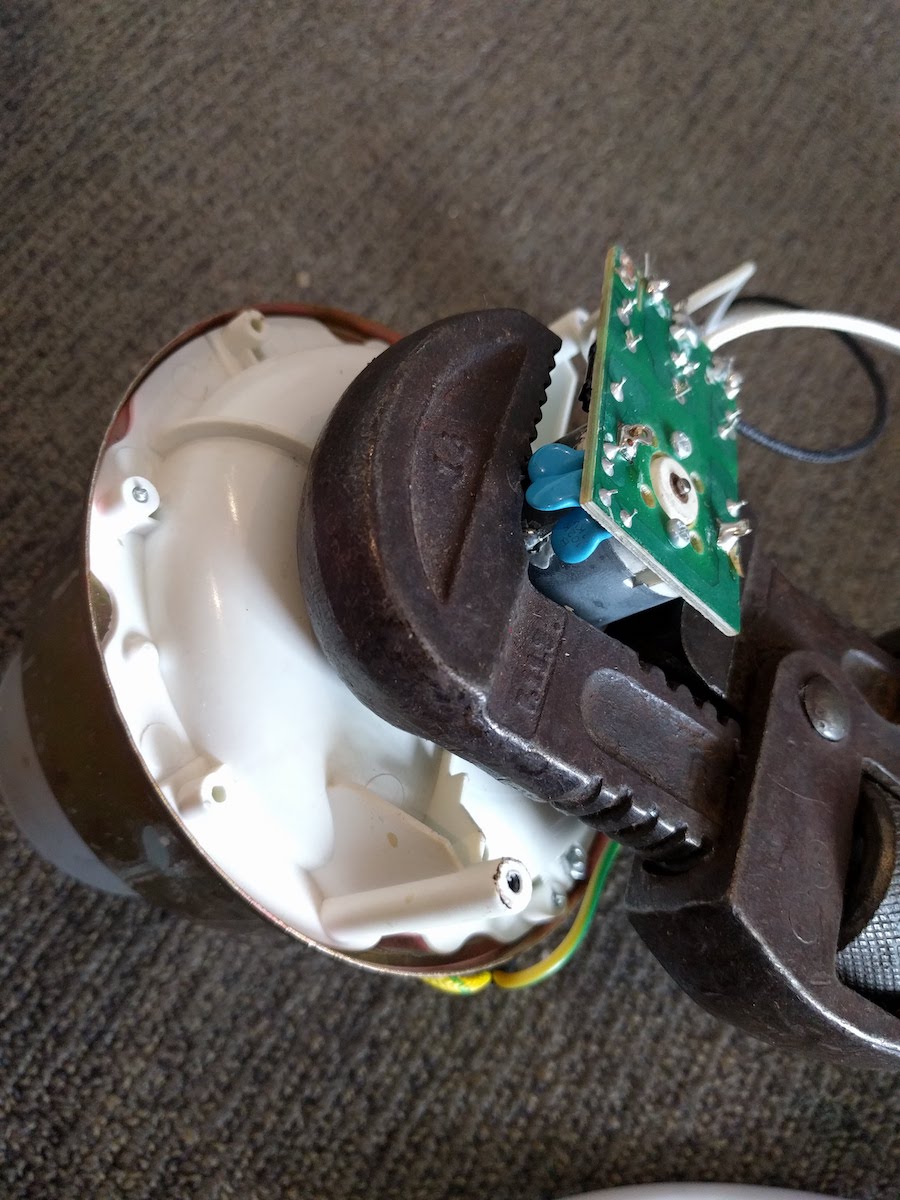
Just make sure it’s not making contact between the body of the motor and any of the components on the board, and you should be able to safely flip the whole thing upside down to extract your roasted coffee.
One piece of advice I am going to give, is don’t use the switch to turn it on or off. I’ve managed to electrocute myself since it’s not that easy to hold in place while operating. I’m probably going to replace it with something a bit more fit for purpose later.
Oh and do your roasts outside. It’ll spit out a ton of “chaff” from the beans which you don’t really want all over the stuff you own. I’m thinking of getting some aluminum ducting so I can control where the chaff ends up going.
I’m going to refrain from offering any further roasting advice, since I definitely don’t have anything resembling a process dialed in yet. You should go have a look at other people’s advice on this one, at least until I’ve had a chance to “dial in” my process.